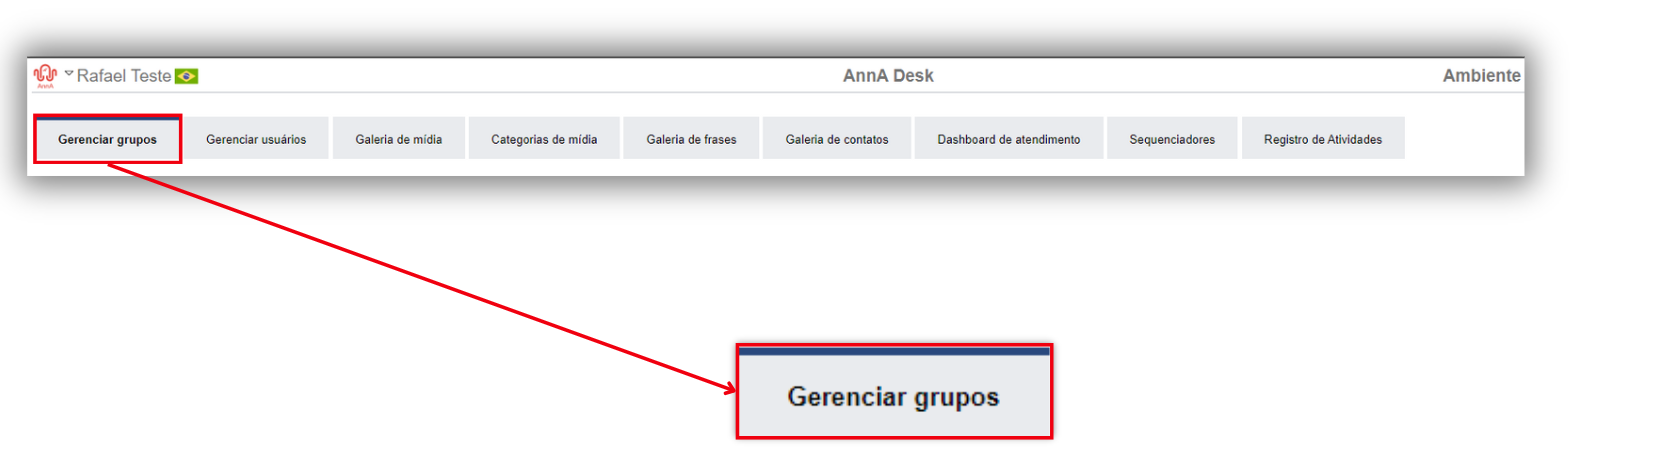
In this tab, you will be able to manage your support groups, performing operations such as editing a specific group. When editing, you can configure support hours, automatic messages, and most importantly, add users to the support group.
It will be the first tab of AnnA Desk, and it will be selected when opened.
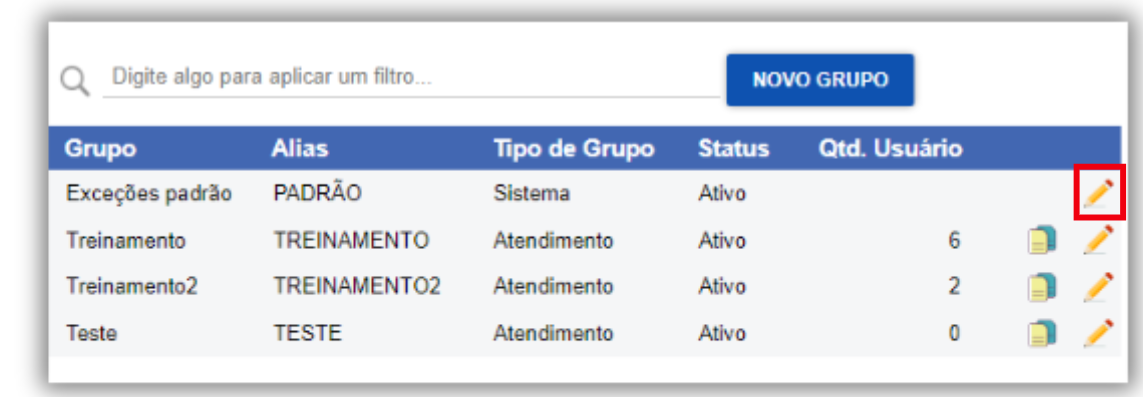
To create a group, follow these steps:

To edit a group, click on Edit ✏️
When editing a group, we will have some management options, including:
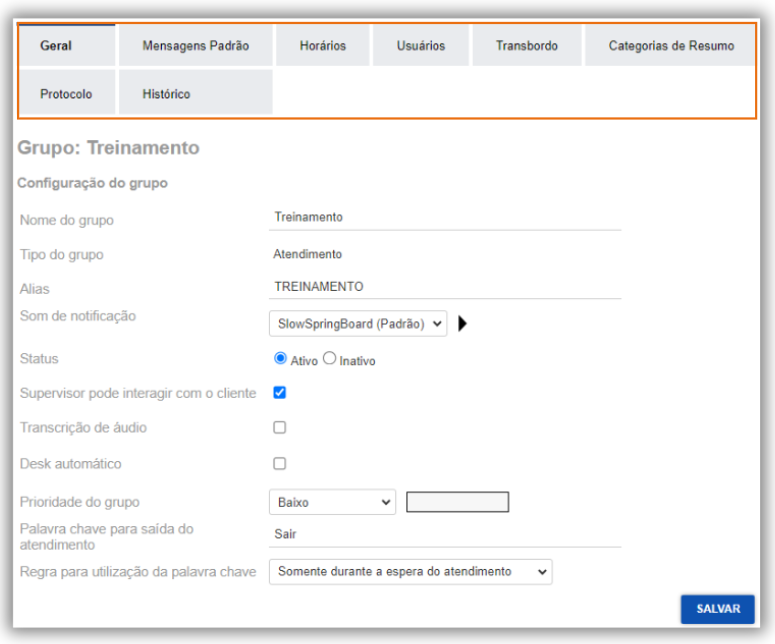
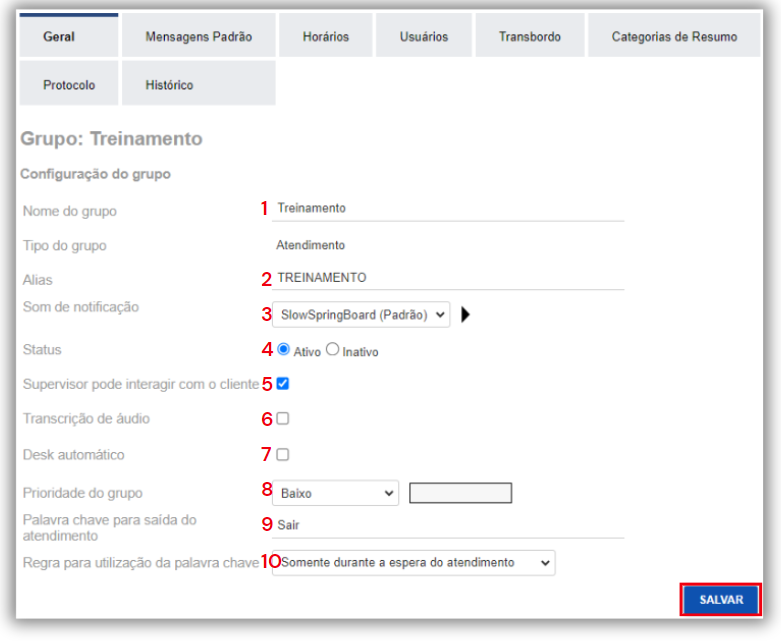
In the General tab, you will find:
After configuring, click save.
In the Standard Messages tab, we can edit:
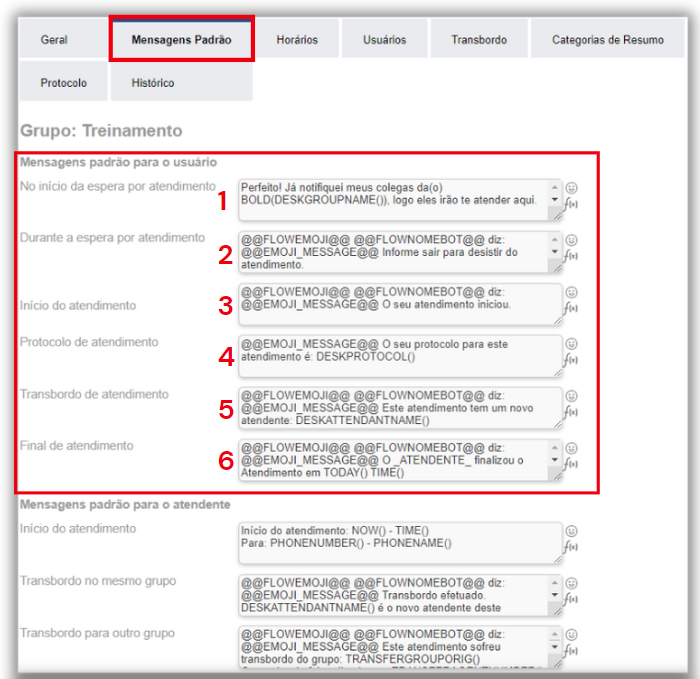
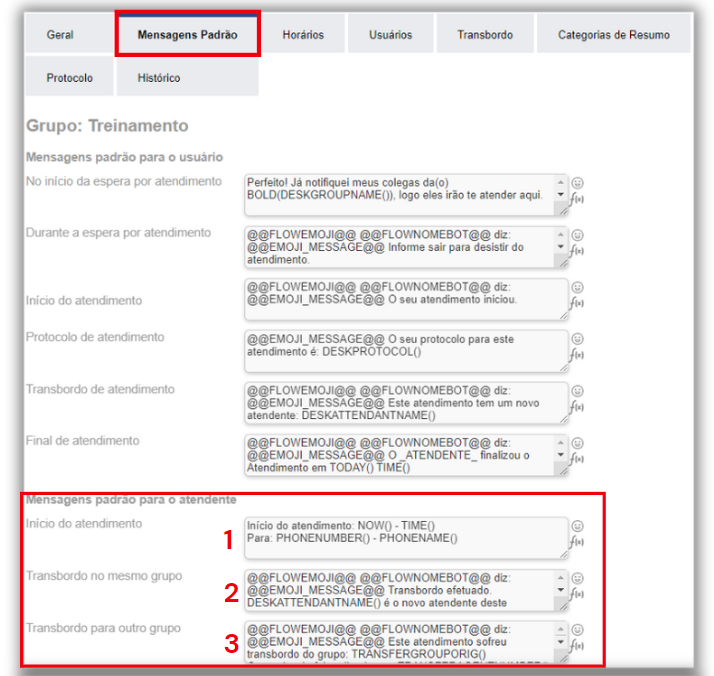
After configuring, you can either reconfigure or save.

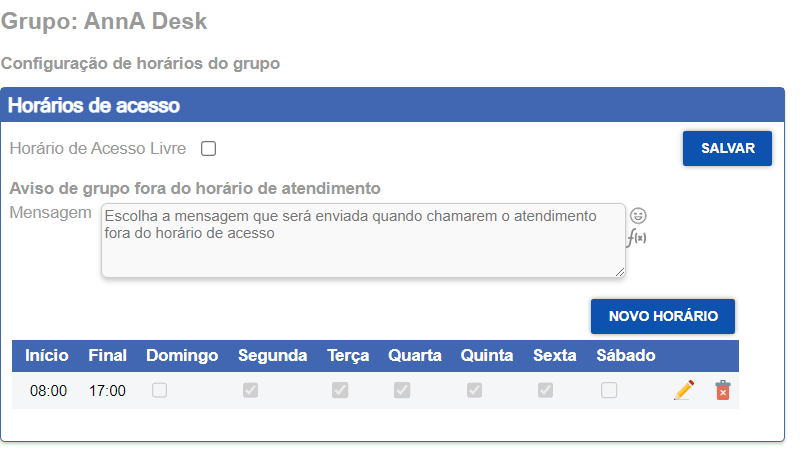
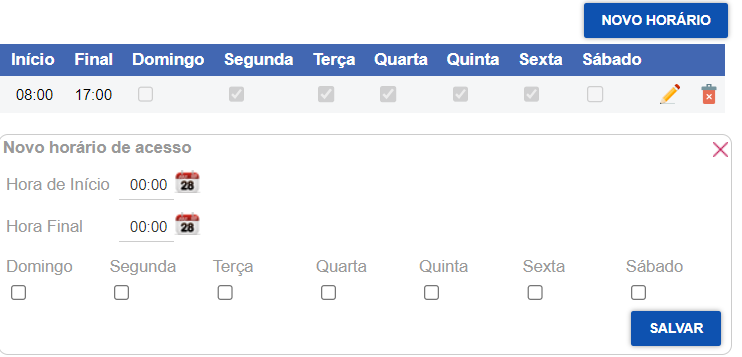
In the Schedules tab, we can edit:
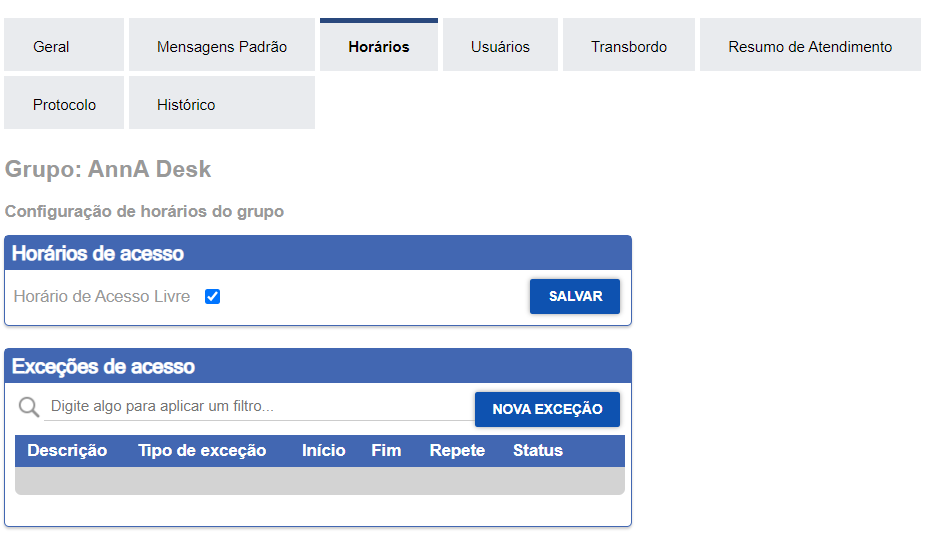
Uncheck the option “Free Access Hours”;
To create a new exception, click on the NEW EXCEPTION button and:
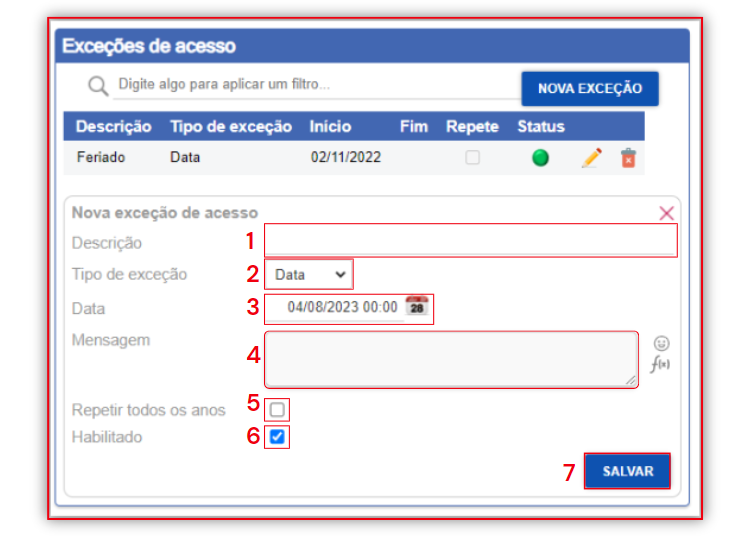
An exception configuration means that on a particular day/period, when the platform service would normally take place, there will be no service. For example, this exception can be configured for recess or holiday periods when service is suspended.
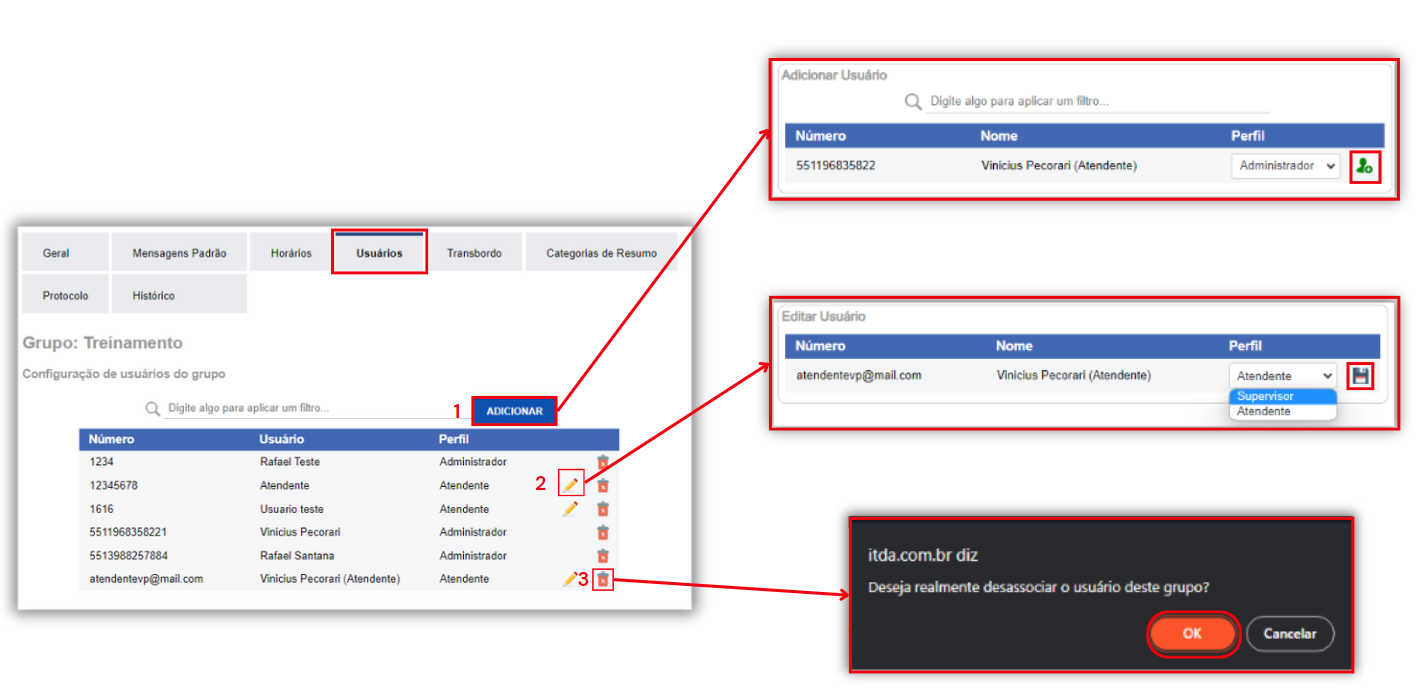
In the Users tab, we can:
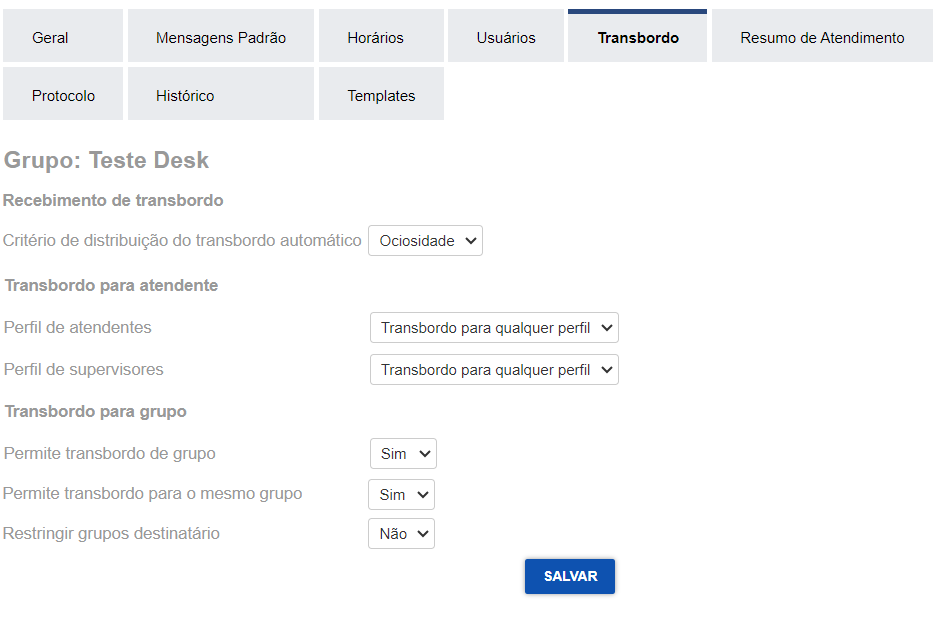
In the Overflow tab, we can edit:
Here, we can configure overflow restrictions, allowing overflow to any profile, only to specific attendants, or not allow overflow.
The profiles are:
Allow group overflow:
Here, you can configure whether group overflow is allowed. If yes, you can set whether overflow to the same group is possible. This action returns the service to the queue.
Restrict recipient groups:
Here, you can configure if one or more groups are restricted from receiving overflow from the configured group. If yes, you can select the groups to restrict.
There is an option in overflow that allows overflow to be accepted outside business hours. This option only appears if access hours are not free.

To configure this option, click the edit button ✏️ and set the “Overflow End Time” to a time later than the final time.
You can configure the following:
Initial Service Summary Configuration:
Here, we can configure how the summary looks at the start of the service.

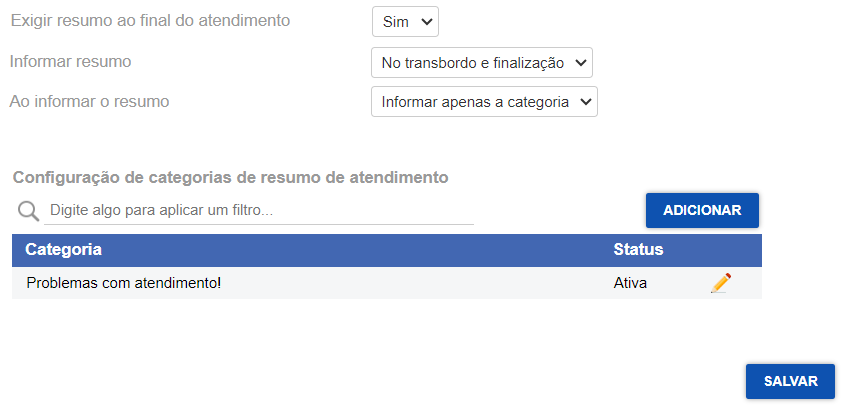
Final Service Summary Configuration:
Here, you can choose whether or not to have a summary at the end of the service.
If “Yes” is selected, you need to specify whether the summary will appear in overflow and finalization, or only at the end, and whether it will include just the category or the category plus a summary text. Always add the categories to be used.
Let’s talk about the protocol, which is the foundation for all services. Configuring the protocol is fast and efficient thanks to the available shortcuts. These shortcuts are designed to make the configuration easier and faster. By using these shortcuts, you can personalize the protocol.
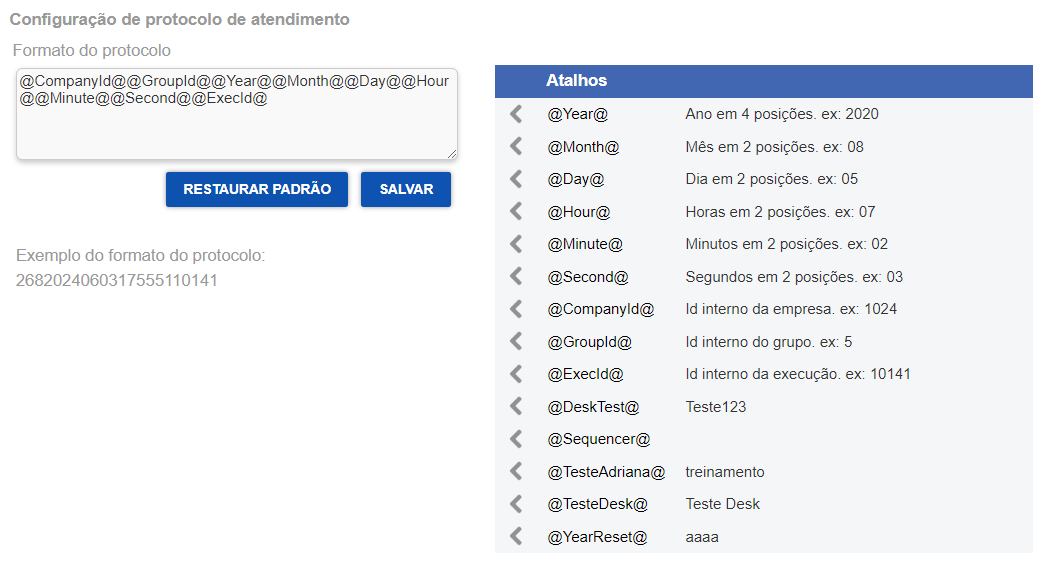
Each < is a shortcut, and when you click on it, it will be inserted into the left field. The most commonly used template is @Year@@GroupId@@Sequencer@, which looks like 2024170245.
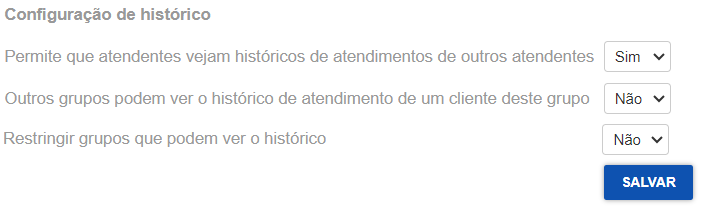
In the History tab, we define whether other groups can view a user’s history.
Here, you can enable which templates to use during the service, whether it’s ongoing or completed.
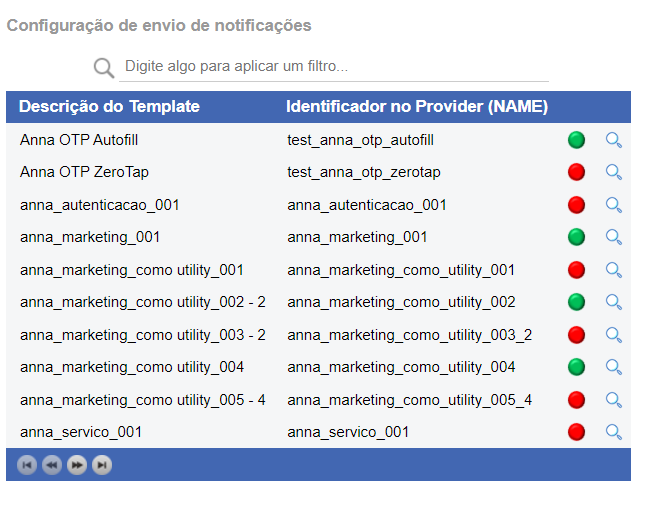
To enable, click the red circle 🔴, which indicates it’s disabled. To disable, click the green icon 🟢, which indicates it’s enabled.
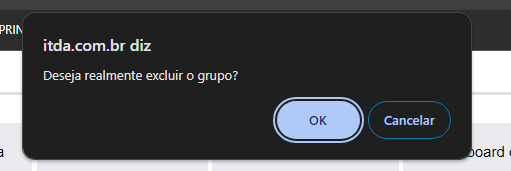
To delete a group, click on Delete Group 🗑️

When doing so, a validation will appear to confirm that you want to delete the group.
Upon completing the deletion, a popup will confirm that the group was successfully deleted.
