
Creating a solution
1. Open the form
Section titled “1. Open the form”In the Solutions list, click + New Solution. The same button sits next to every folder in the sidebar — using it pre-selects that folder.
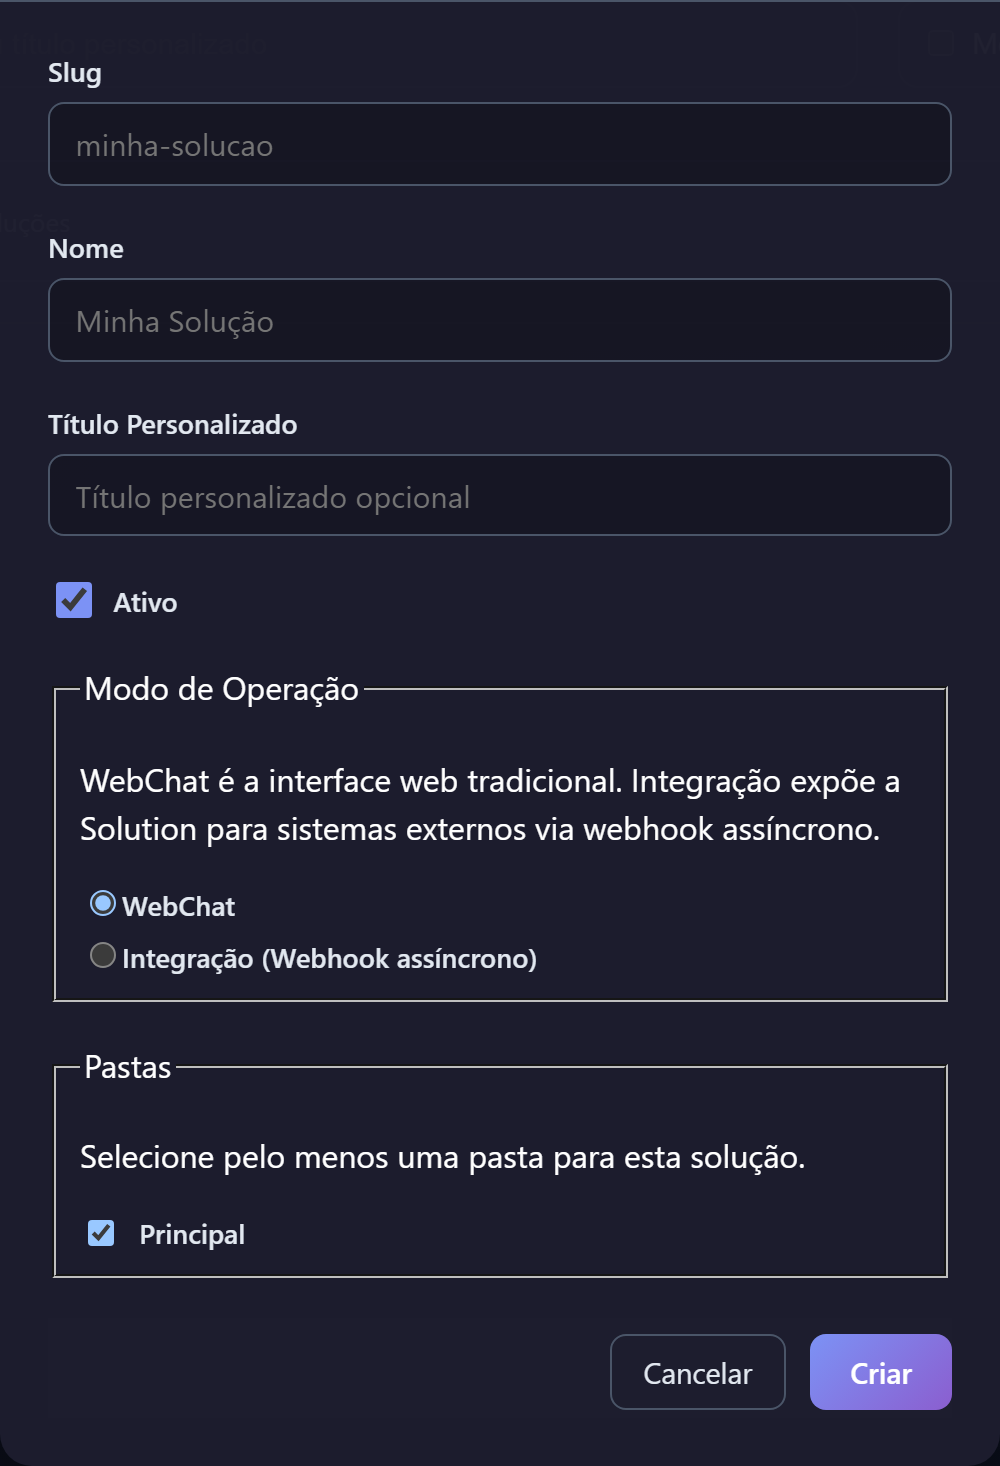
2. Fill in the fields
Section titled “2. Fill in the fields”| Field | What to enter |
|---|---|
| Name | The readable name of the solution, the way people will refer to it. |
| Slug | The identifier used in the chat address. Only lowercase letters, numbers, hyphens and underscores. |
| Custom Title | Optional. Replaces the name shown at the top of the chat. |
| Folders | Select at least one folder. |
| Operation Mode | WebChat or Integration — see below. |
| Active | Leave it checked so the solution is available right away. |
3. Choose the operation mode
Section titled “3. Choose the operation mode”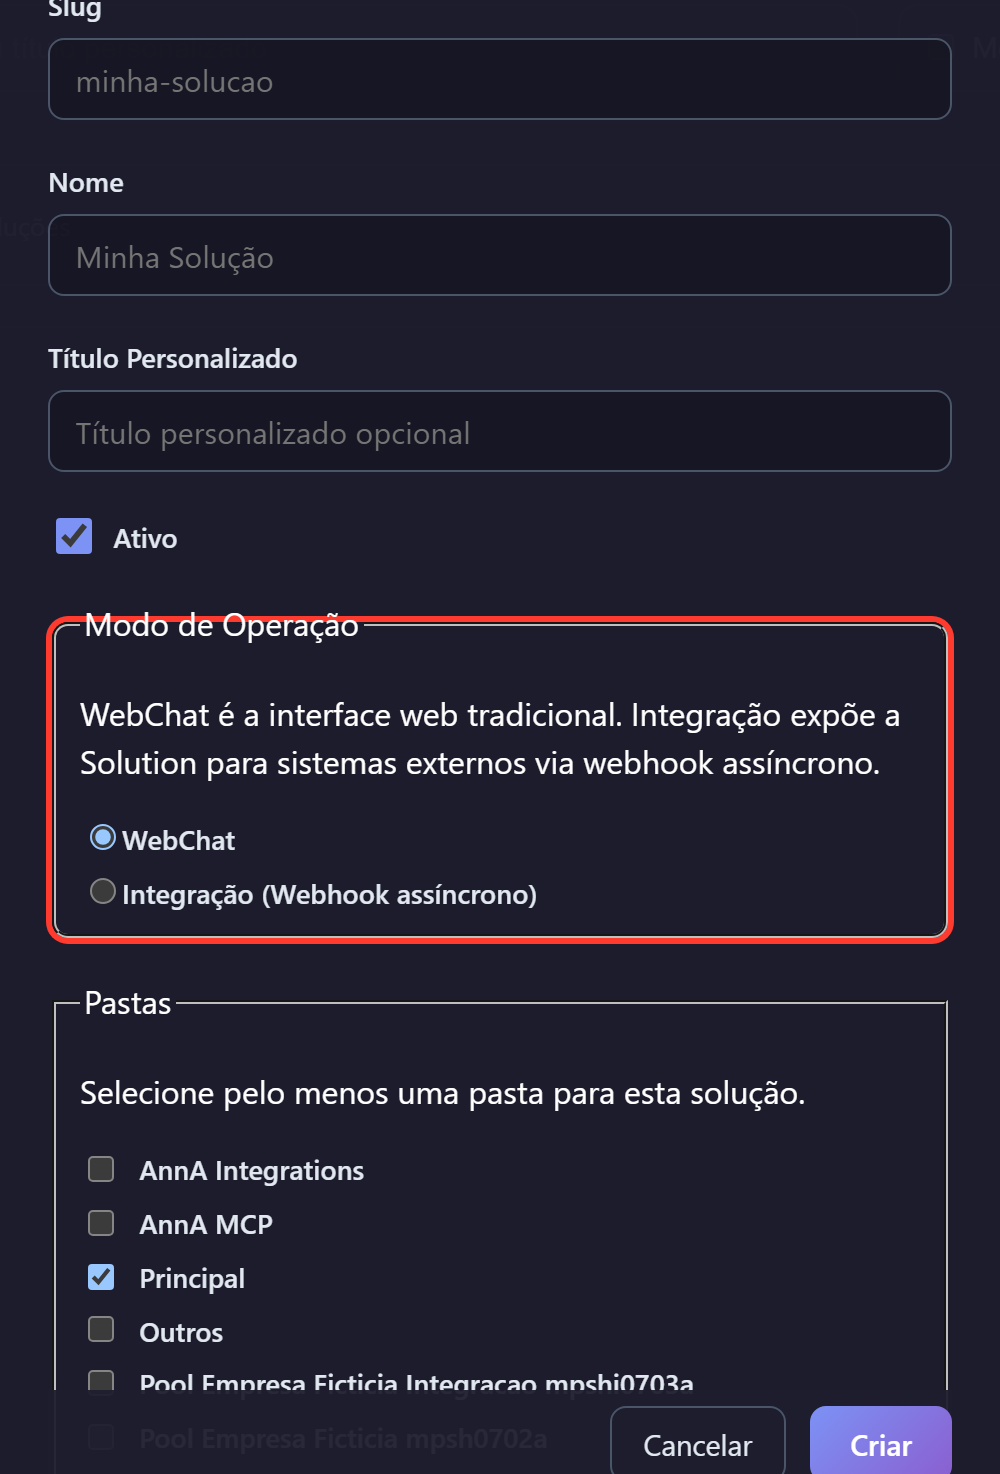
- WebChat — the traditional chat interface. People open the solution’s address and talk to the agent. Choose this one if you are not sure which to pick.
- Integration (Asynchronous webhook) — the solution has no chat page of its own. Another system sends the messages and receives the answers through a webhook. In this mode the Webhook URL and authentication credential fields appear.
You can switch modes later, but switching to Integration fails if any agent in the solution uses incompatible tools — the screen warns you before confirming.
4. Save and check
Section titled “4. Save and check”Once saved, the solution shows up in the list and in the sidebar, inside the folder you chose.
How to check: the solution appears in the sidebar and the Chat column offers the Open button. A brand-new solution still answers nothing — it needs at least one active agent. Continue in Creating and configuring agents.